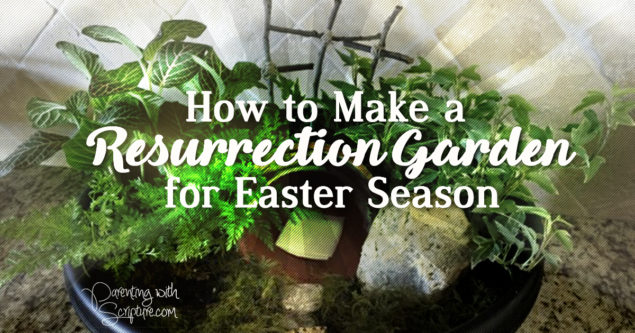
Resurrection Garden How-to for Easter Season
I’ve seen many different versions of Resurrection Gardens through the years and had always wanted to make one. Being a Type A person, I finally put it on my calendar for the following February to make sure we remembered to not let another year pass. With my kids getting older, I’m realizing more and more how few years left we have to do such things together!
We had 3 other kids staying with us the weekend we did the project. So, I can say that this was a doable and fun project for 4 years old through 8th grade! I browsed through Pinterest at the variety of Resurrection Gardens to find my favorite design and followed the basic steps here. However, I’d like to share my tips and tweaks of how we got our finished product.
We divided the process over a couple of days as we had time and so it wouldn’t be overwhelming.
Garden Center
First, we headed out to the Garden Center to gather these supplies:
-shallow, wide container (we went with plastic so it wouldn’t be heavy)
-potting soil
-3 plants for whatever lighting will work for where you are keeping the garden. The kids enjoyed making the selections.
-moss (I actually had the fake version from the craft store on hand.)
-twine (Or use any string your have on hand for putting the cross together. Hot glue is another option.)
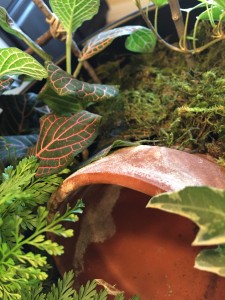
-small pot to use as tomb. You can buy a clay one like I used. But, I actually recommend using one of the round containers that the plants you purchase for this come in. Here’s why…After a couple of weeks, the pot started growing something white.
Sticks and Stones Hunt
We have a city park/greenbelt behind our house and had a fun time foraging there for…
*1 large stone…needs to be approximately the size of the opening of the pot you are using for the tomb
*Several small stones…to use as a walkway, simply for added interest
*3 long sticks…make sure you account for the fact that part of them will be submerged in the soil.
*3 shorter sticks…for the cross bar
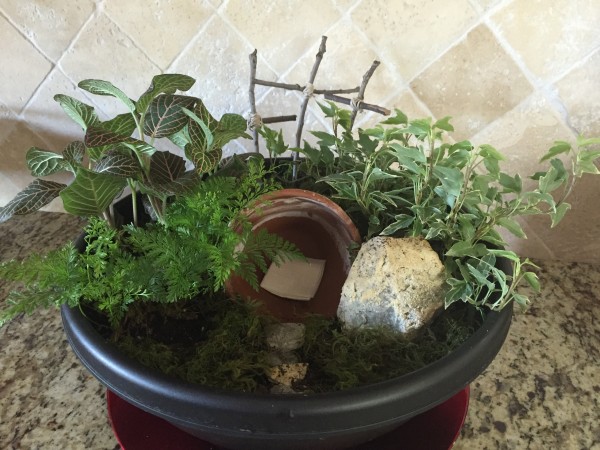
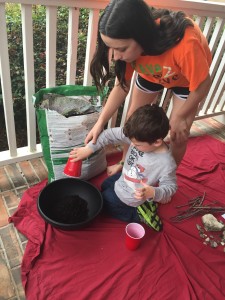
Assembling
*Spread out all your supplies in your work space. The temperature was nice outside, but a bit drizzly so we worked on our covered patio.
*Scoop dirt out of the potting soil bag to fill your large, shallow pot.
*Before taking the plants out of their pots, arrange everything as you wish the scene to look.
*Plant the plants.
*Cover the top of the tomb and any exposed dirt with the moss.
*Wipe any loose dirt out of the tomb and off the walkway rocks.
*Use the twine or string to put the cross bar on the cross. Remember to put the cross bar high enough to account for the bottom part of the cross being stuck in the dirt. To attach the cross bar, simply wrap the twine around several times diagonally both ways and then tie it off in the back. Little hands will need help with this.
*Put a bandage or tissue in the tomb for the effect of the burial cloth.

Once it’s completed, set the creation in the middle of the kitchen table (before moving it to its final destination) and enjoy a snack around it while reading the Resurrection story from Matthew 28:1-10.
Looking for more teachable moments? Check out my book, Parenting with Scripture: A Topical Guide for Teachable Moments.
|
read more>> |